The main program screen provides you multiple choices on how to use the Ideal Handheld program.
The screen will look different depending on if you are using an iPad or a smaller screen device.
This section details the smaller screen devices.
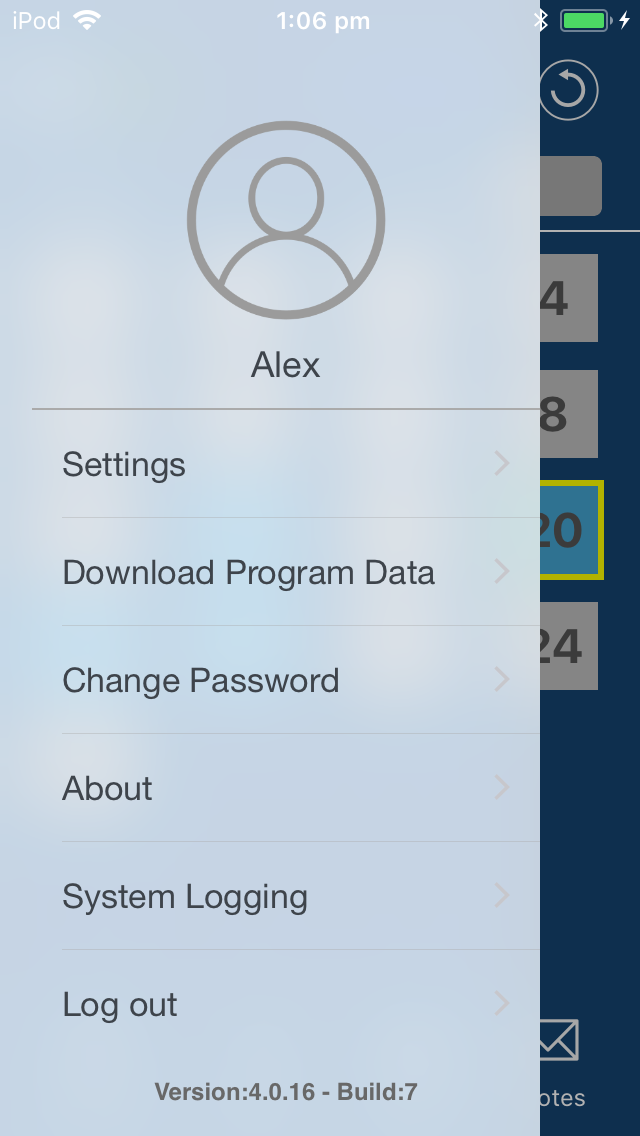
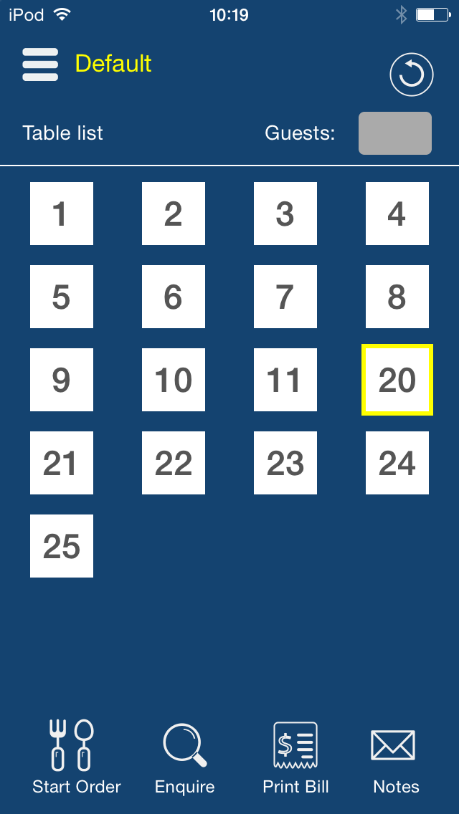
Three Horizontal Lines – Opens the screen to perform advanced functions such as Settings, Download Program Data, Change Password, About, System Logging and Log out.
Clerk – Select the Clerks from the drop down menu provided.
Guests – This button will only display if selected in the Settings. This will allow you to enter the number of guests seated on the table.
Table – Select the table from the grid selection.
Start Order – Will open the selected Table and allow items to be added.
Enquire – This button will open the table details of all items that have been placed on the table.
Print Bill – Select a table number and press this button to print a bill to the default receipt printer.
Notes – This button is where specials or other information can be displayed.
Before you will be able to use Ideal Handheld you will need to set some options that enable you to connect to the host PC.
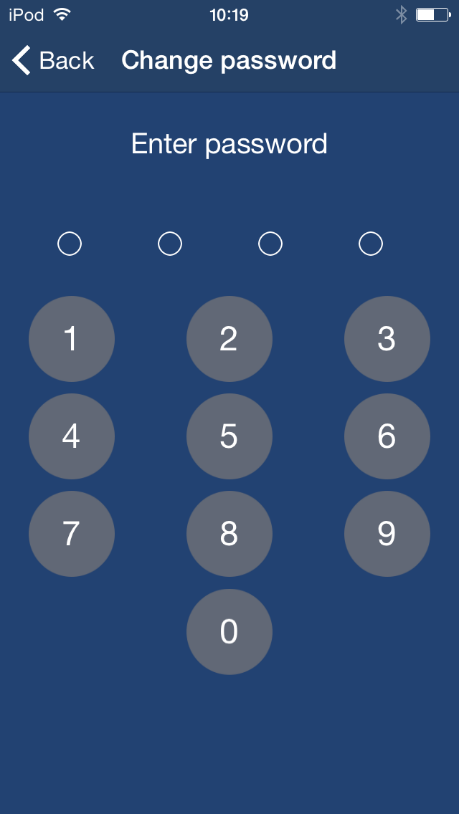
Before you can access the settings, you will need to enter a password.
This is your password.
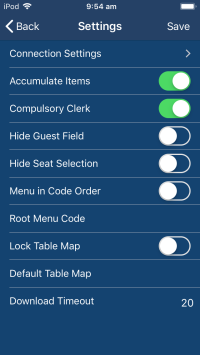
Connection Settings: Opens a new menu option.
Accumulate Items: Select if you want items to accumulate on the handheld.
Compulsory Clerk: Requires a clerk to be entered before any actions can be taken.
Hide Guest Field: Select this option to enter the amount of guests that are seated at the table.
Hide Seat Selection: This option will not allow seat buttons to be displayed.
Menu in Code Order: By default the menus will display in alphabetical order.
Root Menu Code: If using menus, enter the Menu Code that corresponds to the Main Menu Code that you will be linking to in Idealpos. By default this is set to 999. If you are using V7 Features you do not need to have anything in this field as the items will be built from the POS Screen Layout.
Lock Table Map: This option will lock the Table Map to the selected choice of the Default Table Map.
Default Table Map: This option allows you to enter the Table Map Code that will be used as default when the Table Map is accessed.
Download Timeout: This option allows you to configure the length of time in seconds that the app will wait to receive Program Data from Idealpos. If the POSServer and/or Idealpos does not send the required Program Data back to the Handheld app before the timeout lapses, the Handheld app will send another request for Program Data and the previous request will be cancelled. We recommend leaving the option set to the default value of 20 seconds, however, on slower systems that contain numerous POS Screen Layouts, 20 seconds may lapse before Idealpos can generate the Program Data and send it back to the Handheld app. In these cases, we suggest increasing the timeout; try using increments of 20 seconds until you find a value that will allow the Program Data to be successfully downloaded to the Handheld app.
Connection Settings
Enable Connection: Allows you to use the app without any orders being sent to the kitchen.
Handheld Licence IP: This field must contain the IP Address of the terminal that has the IH license.
POS Server IP: This field is the IP where the POSServer is located.
Server Port: 6983

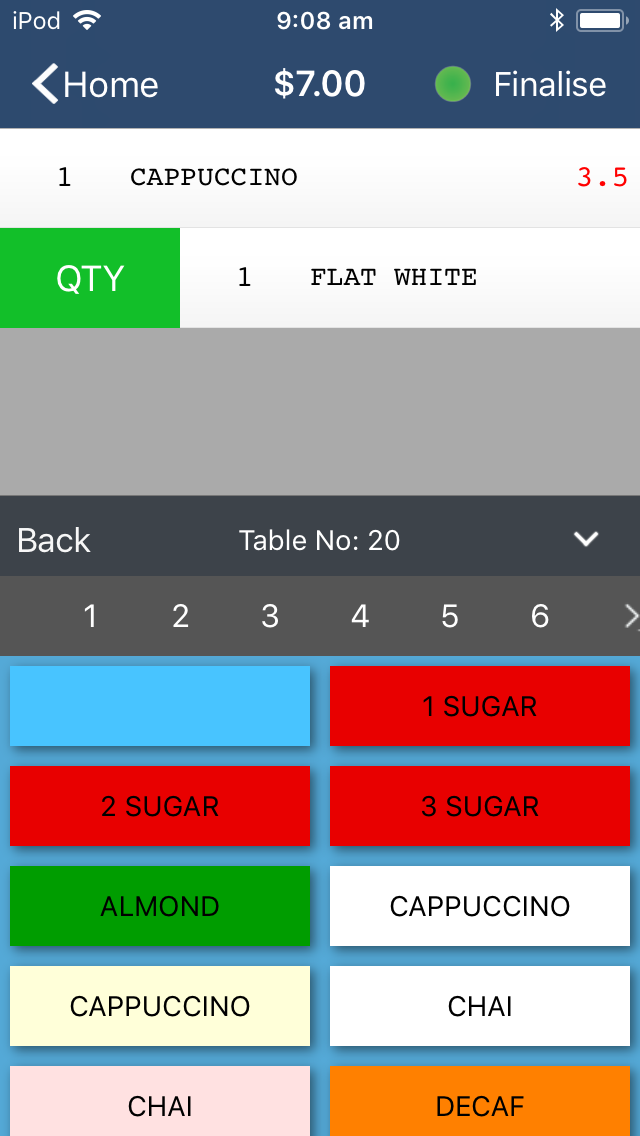
This screen allows you to enter items to the table and perform multiple actions.
Total Ordered: This is the current total of all ordered items.
Item Entry: This is the area that will display the items that are entered.
Table Number: This is the number of the table placing the order.
Back: Return you to the previous screen.
QTY: This allows you to enter a new quantity for the item. When pressing this button, a prompt will appear for you to enter the quantity. The quantity entered will replace the previously entered quantity for the item. Swipe right to access.
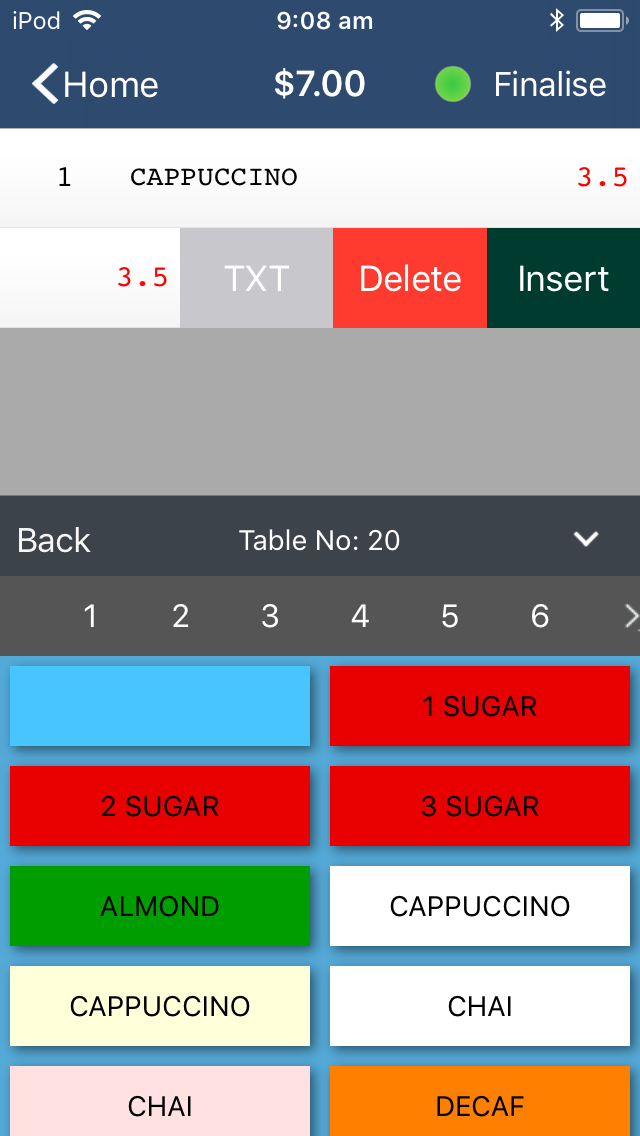
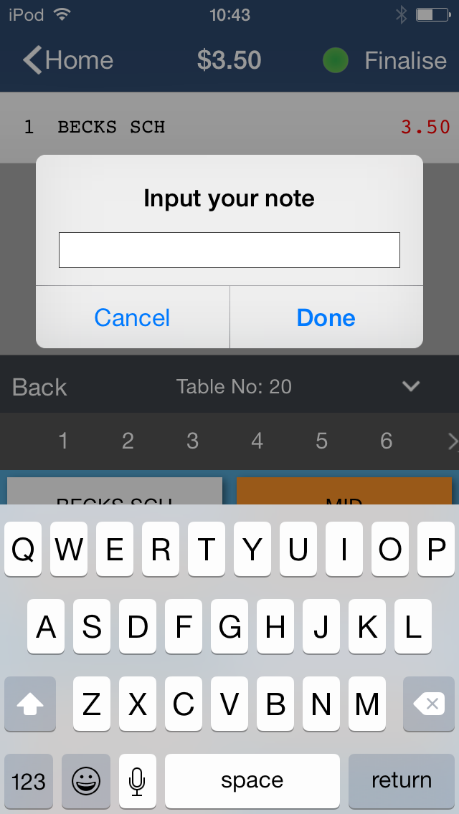
TXT: This button allows you to add text to the item. Swipe left to access.
Delete: This allows you to delete the item from the table. Swipe left to access.
Insert: This will allow you to insert an item that might print out of order.
Finalise: This will finalise the sale to the table.
Seat Numbers: This will allocate the selected item to a seat number.
Menus: This will display the menus to select the items.